
A good setup transforms both sound and comfort. Many musicians look for simple ways to improve their instrument without breaking anything.
A few basic steps are often enough: checking neck relief, string action and intonation. These checks extend the life of your instrument and make playing more enjoyable.
If you are unsure, our specialists are available free of charge in the Guitar Workshop to provide advice and help. For a step-by-step approach and detailed methods, see our practical online guide via this link: workshop guide.
Why setting up an acoustic guitar is essential
Your instrument’s stability depends on regular maintenance. Humidity and temperature changes alter the neck’s curvature and string tension. This affects tuning accuracy and playing comfort.
A good setup improves playability and extends the life of the guitar. Checking the height at the nut and bridge prevents notes from buzzing or frets from producing inaccurate notes.
In some cases, poor bridge stability makes tuning unstable across the entire neck. Professional adjustments ensure lasting stability, useful in the studio or on stage.
- Check the neck curvature for smooth action.
- Check string height and fret condition.
- Adjust the nut and bridge as the instrument evolves over time.
| Element | Common issue | Effect on playing |
|---|---|---|
| Neck | Excessive curvature | Inaccurate notes, uneven action |
| Nut / bridge | Unsuitable height | Reduced comfort, risk of buzzing |
| Frets | Wear | Altered intonation |
For a complete guide to maintenance and setup, see our dedicated page: maintenance and setup.
Preparing your instrument before any adjustment
Start with a simple, methodical inspection of the neck and strings so you can work safely.
Before touching anything, check the overall condition of the neck and strings. A stable neck and healthy strings prevent unnecessary adjustments.
Essential tools for setup
Use suitable tools: screwdriver, truss rod wrench, ruler and cloth. The Harley Benton Guitar & Bass Toolkit is a good example for carrying out guitar adjustments accurately.
- Visually check the nut and frets for wear.
- Allow enough time for the inspection, ideally once a year.
- If you have any doubts, ask a luthier or qualified technician for help.
This preparation helps determine whether the work will be minor or whether a specialist is needed. Also see our guide on string height for practical advice.

Adjusting neck relief for better playability
A properly adjusted neck transforms ease and precision of playing. Curvature affects string height and overall action. An incorrectly adjusted truss rod causes buzzing or inaccurate notes.
The truss rod counteracts string tension and stabilizes the neck.
Understanding the role of the truss rod
The metal rod counteracts string tension and stabilizes the wood. It is used on electric and acoustic instruments. Turning the screw to the right tightens the rod; turning it to the left loosens it.
Accurate measurement helps avoid excessive corrections.
Method for checking straightness
Press the low E string at the 1st and last fret. Measure the gap at the 8th or 9th fret: ideally, it should be between 0.2 and 0.5 mm.
- Work in quarter-turn increments to protect the rod and the wood.
- Observe the neck relief and fret alignment: a neck that is too convex or too concave indicates that an adjustment is needed.
- Check regularly, especially if the strings buzz or if the tension changes.
Setting string height at the nut and bridge
String height defines the action and playing comfort. Measuring the gap at the 12th fret gives you a reliable reference before any adjustment.
Start by noting the current action. For an acoustic guitar, aim for about 2.5 to 3 mm at the 12th fret. For an electric guitar, the bass string is often between 1.5 and 2.5 mm depending on the style.
Adjusting the nut
The nut is very sensitive. Use only suitable files, such as the Harley Benton Nut File Set. Leave 0.2 to 0.3 mm of space between the string and the first fret to avoid open-string buzz.
Adjusting the action at the bridge
At the bridge, adjust the height according to the fretboard radius and your playing style.
| Element | Recommended action | Tool |
|---|---|---|
| 12th fret (acoustic) | 2.5 – 3.0 mm | Ruler, gauge |
| Bass string (electric) | 1.5 – 2.5 mm | Ruler, screwdriver |
| Nut | 0.2 – 0.3 mm gap | Nut files (Harley Benton) |
Check each open string to make sure the nut does not restrict natural vibration. A good setup at the nut and bridge eliminates buzzing and makes movement along the neck smoother.
Optimizing the instrument’s tuning accuracy
To keep every note accurate across the whole neck, intonation deserves special attention.
Intonation is checked by comparing the harmonic at the 12th fret with the fretted note at the same position.
If the harmonic and fretted note differ, adjust the string length at the bridge.
When the fretted note is too high, move the saddle back to lengthen the string.
If it is too low, move it forward to shorten the vibrating length.
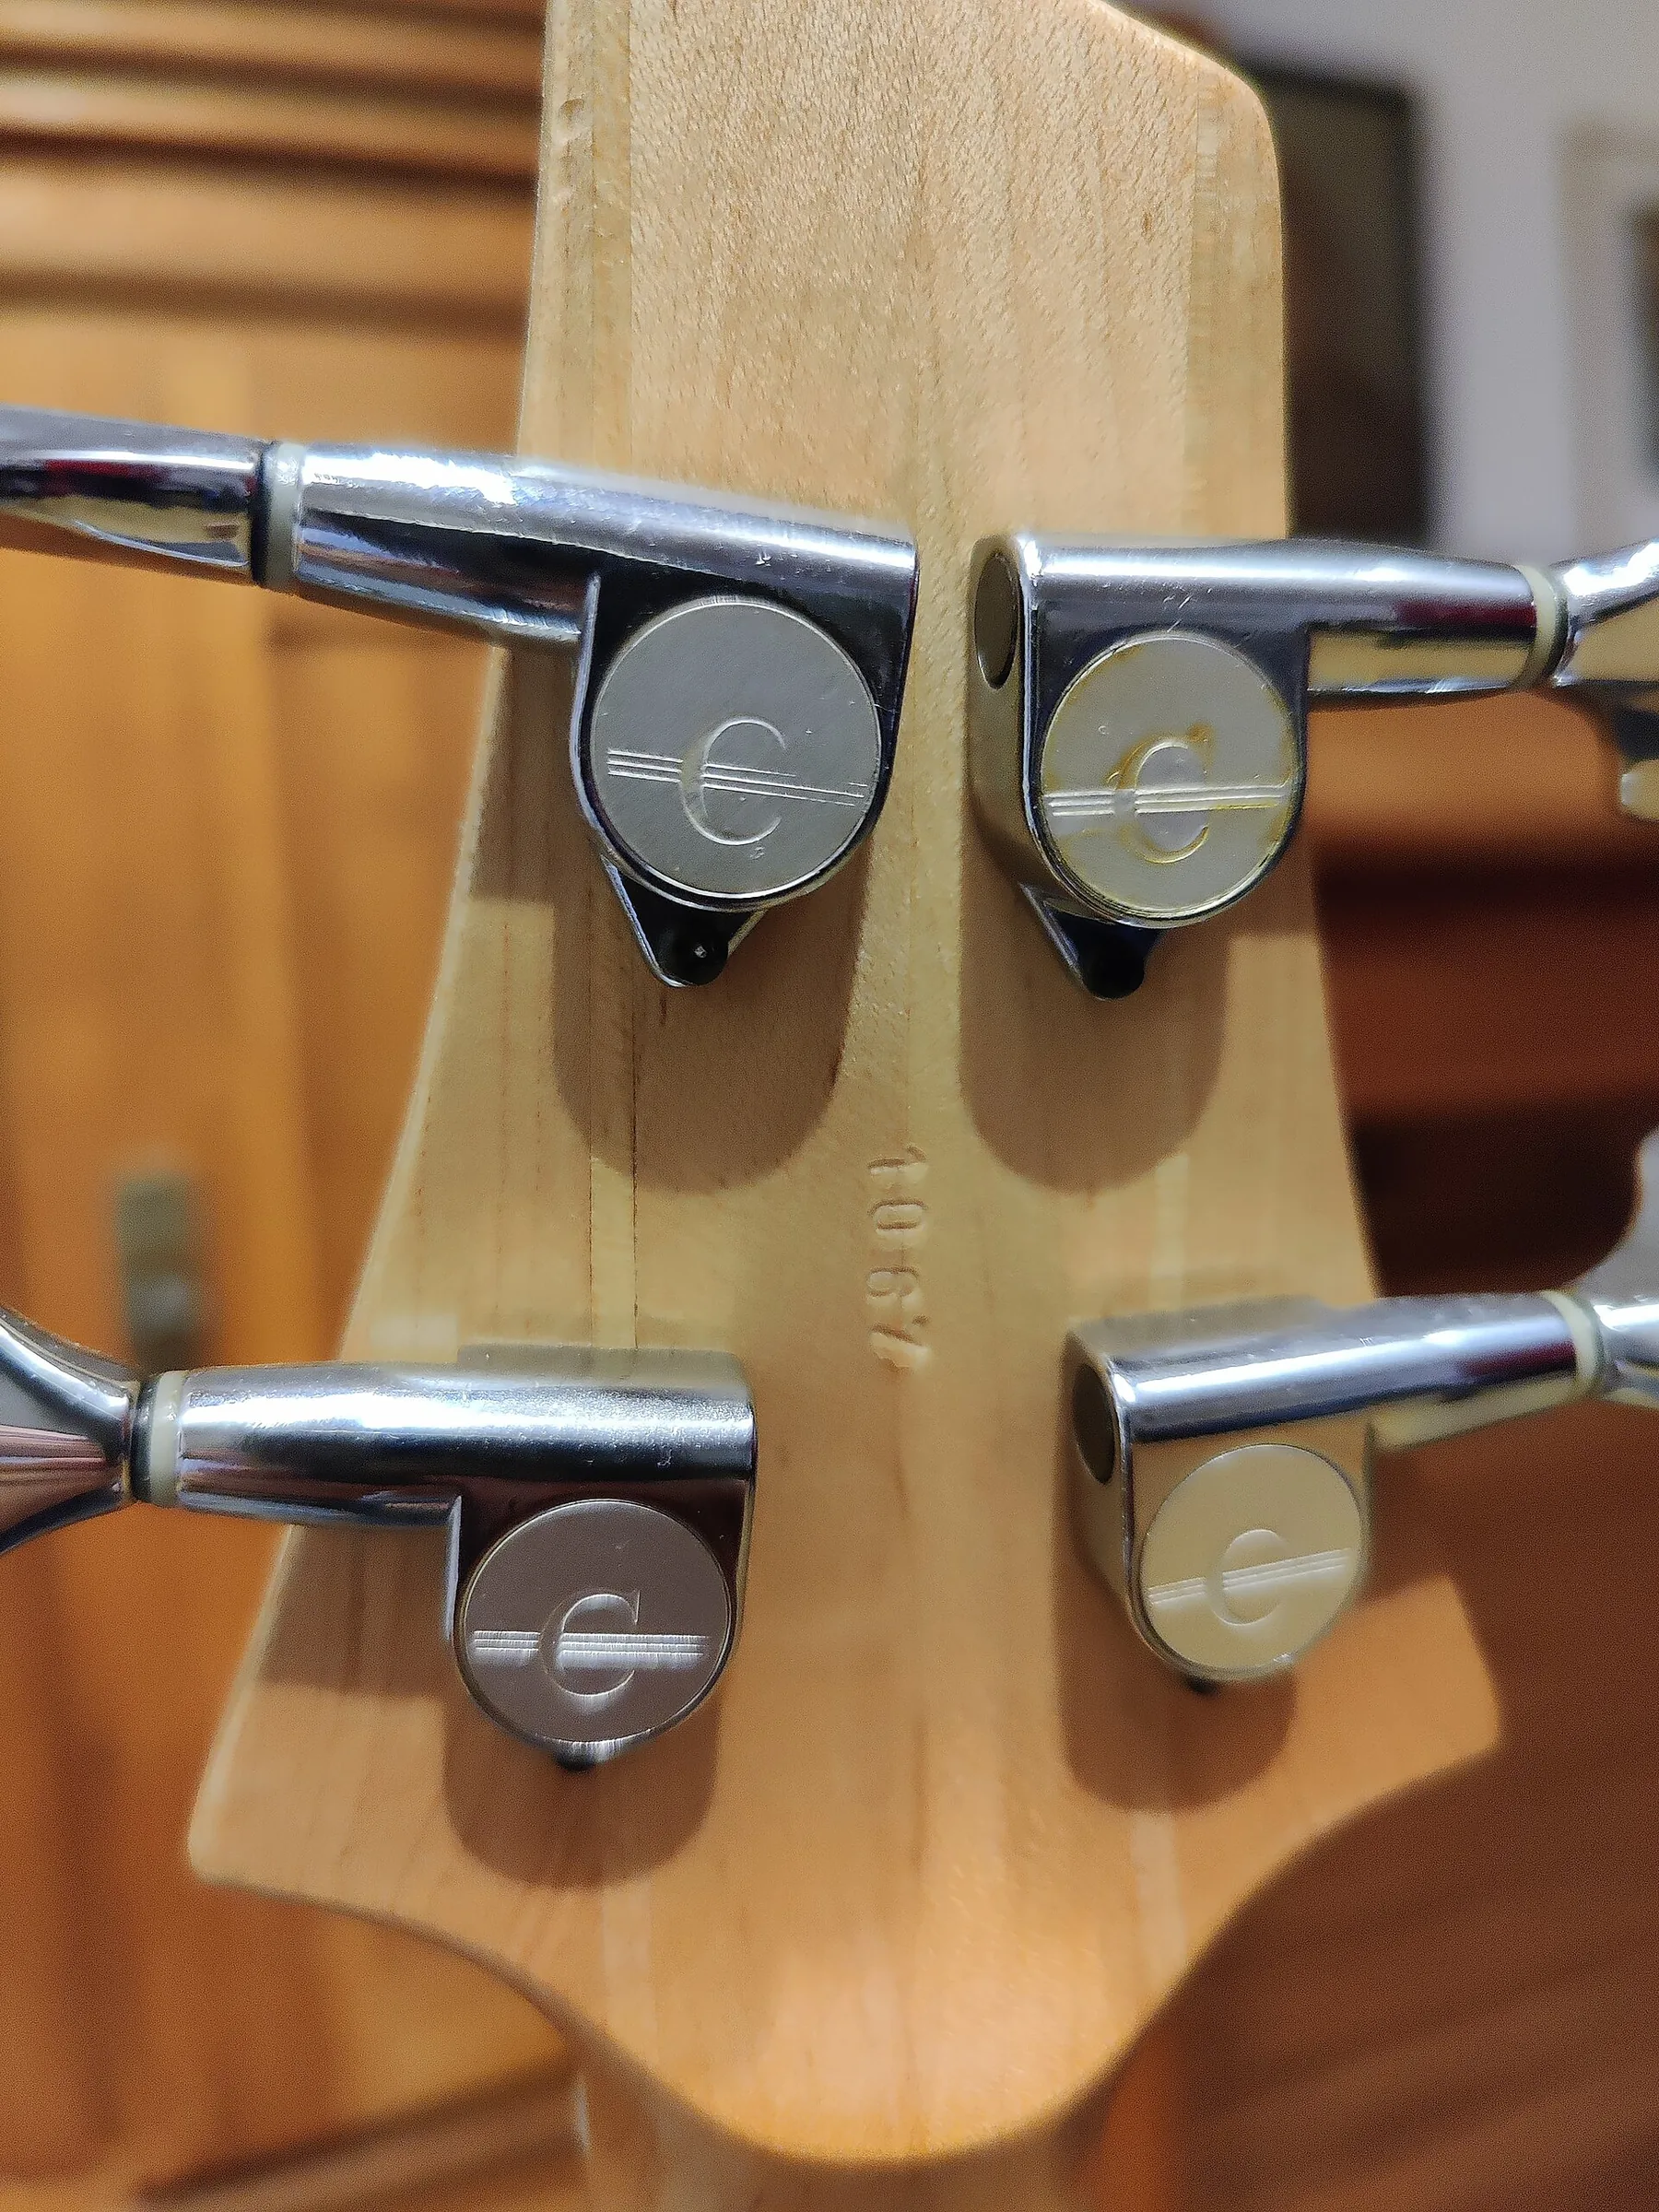
“Precise intonation corrects out-of-tune notes in the higher frets and improves playing comfort.”
Each string reacts differently. Work string by string and readjust the nut height or action if necessary.
- Patience: adjust in small increments and retune often.
- Check: always compare the harmonic and the fretted note at the 12th fret.
- Useful resource: for advice on the neck, see our guide on neck adjustment.
Maintaining electronic and mechanical components
Simple maintenance of mechanical and electronic parts preserves the sound and prevents unpleasant surprises during a concert.
Regular checks: clean the potentiometers and selectors with a suitable contact spray. This often removes crackling and extends component life.
Check and tighten every screw on the body and mounting plate. Loose screws create mechanical play and compromise tuning stability.
Lubricating the tuners
Lightly lubricate the tuners to make rotation smooth. Stable tension on each string helps preserve tuning and intonation.
- Preventive: cleaning potentiometers and contacts prevents small problems from getting worse.
- Quick action: an unstable jack should be repaired to protect the internal wiring.
- Need help: if you are unsure, leave the inspection to a luthier for a complete check.

“Regularly checking screws and circuitry eliminates most signal problems.”
Cleaning and protecting the fretboard wood
The fretboard, often unfinished, deserves regular attention to preserve its wood and response.
Cleaning and protecting the fretboard is essential for your guitar’s health. Sweat from your hands oxidizes the frets and attacks the strings. Frequent cleaning prevents residue from building up between the frets.
Remove the strings so you can work cleanly. Access makes it easier to remove dust and deposits along the fretboard.
After dusting, apply a suitable oil, such as linseed oil or lemon oil. This nourishes unfinished wood and helps prevent microcracks.
- Cleaning: soft cloth and a dedicated fretboard product.
- Oil: apply very little, let it soak in, then wipe off the excess.
- Restringing: replace the strings if they are oxidized.

| Action | Frequency | Effect |
|---|---|---|
| Deep cleaning | 6–12 months | Reduces corrosion on frets and strings |
| Oil treatment | 1 to 2 times per year | Preserves the fretboard wood |
| Changing strings | Depending on use | Improves tuning stability and playing feel |
Protecting the fretboard is part of the overall setup. Healthy wood improves the transmission of string vibrations and the longevity of the neck.
“Regular fretboard maintenance extends the instrument’s life.”
Identifying signs of wear that require a luthier’s intervention
A quick diagnosis clarifies whether your instrument needs a specialist’s intervention.
Recurring buzz despite a neck adjustment is often the first warning sign. If the strings still buzz after adjustment, it may indicate that the frets are uneven or worn.
When a string buzzes on a single fret, the common cause is a fret that is too low or uneven compared with the next one. This requires professional fret leveling or refretting.
Other signs that require expertise:
- Out-of-tune notes on several frets despite correct action.
- Action that is abnormally low or uncomfortable to play.
- Damaged nut or bridge that alters height and geometry.
When fret wear is too advanced, no light adjustment is enough. Only a luthier can restore playability and tuning accuracy across the entire neck.
| Symptom | Probable cause | Recommended intervention |
|---|---|---|
| Persistent buzzing | Uneven or worn frets | Fret leveling or refretting |
| String buzzing on one fret | Fret too low | Local leveling by a professional |
| Out-of-tune notes across the neck | Nut, bridge or general wear | Complete setup by a luthier |
Need professional help? To understand when to entrust your instrument to someone else, read our article on why a repair service can save a guitar.
Conclusion
Regularly taking care of the neck and strings prevents many problems in concert or rehearsal.
A regular setup improves your guitar’s action, tuning accuracy and responsiveness. Mastering neck relief, string height and intonation transforms everyday playing.
Protecting the wood and maintaining the components extends the instrument’s life. Also remember the nut and tuners to keep tuning stable.
If you still have doubts, call on a luthier and see our truss rod guide to go further.
Practice these steps regularly: you will understand each string better and fully enjoy the potential of your guitars.
Leave a Reply