
Sophian Alkurdi guides you through this short tutorial. Here, you will learn how to replace each string and get back a clear, precise sound.
The right technique helps extend the life of your instrument. The method remains similar from one model to another, even if the tuning machines vary.
We describe the useful tools, simple precautions, and common mistakes to avoid. This guide is designed for beginners as well as experienced players.
Result: fewer unwanted noises, better tuning stability, and more playing comfort after every replacement.
Why and when to replace your strings
A dull sound often reveals that your strings need immediate attention.
Signs of wear and loss of tone
A tone that becomes flat or metallic often indicates that the strings have lost their harmonics. This issue affects volume and playing accuracy.
Worn strings can also damage the frets on the neck. Replacing them in time helps avoid costly repairs and protects the fretboard.
The ideal replacement frequency
Changing strings is also the ideal time to check the overall condition of the headstock, tuning machines, and bridge. Compare: electric guitar strings are different, but for a steel-string acoustic guitar, bronze or phosphor bronze remain the standard.
For more practical details and maintenance tips, follow this guide before replacing your strings.
Preparing the equipment needed to change the strings on a steel-string acoustic guitar step by step
Gathering the right tools before working on the instrument helps avoid many surprises.
Get a pair of wire cutters to trim the excess after fastening: this is essential to avoid injuries caused by metal ends.
A reliable tuner will help you quickly restore the correct string tension. Also prepare a string winder to turn the tuning machines faster and with less effort.
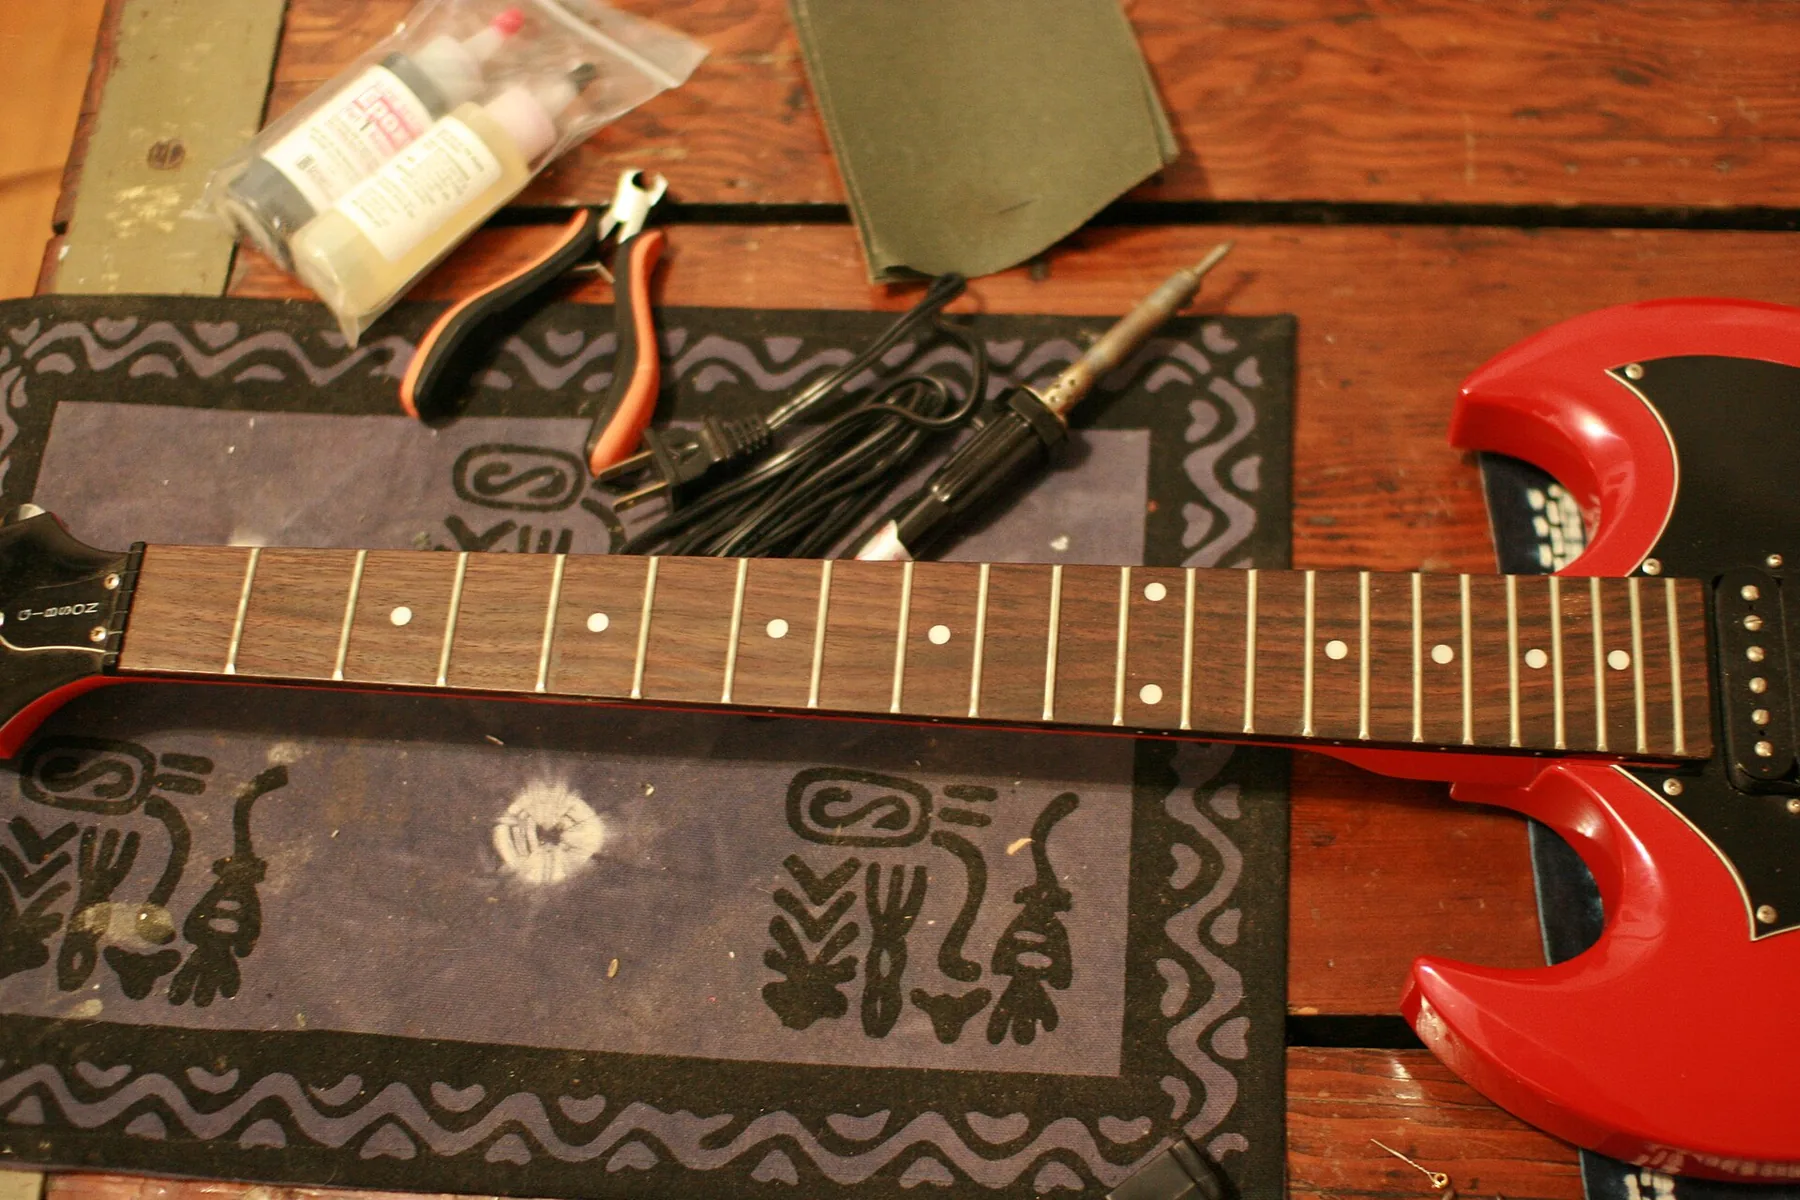
For an unfinished fretboard, apply lemon oil sparingly to nourish the wood without saturating it. No. 000 steel wool is recommended for cleaning the frets and removing grime without scratching.
Finally, have a soft cloth ready to wipe the body and a small suitable cleaning product. Every moment spent maintaining the instrument extends its lifespan.
“A simple, clean kit will save you time and preserve sound quality.”
For a complete guide to replacement and maintenance, see our dedicated page: changing the strings on a steel-string acoustic guitar.
Removing the old strings safely
Before doing anything, slowly loosen each string to avoid shocking the neck.
Never cut a string under tension. This can cause a sudden movement and damage the headstock or tuning machines. Turn the tuning machines counterclockwise to reduce the tension.
Techniques for removing bridge pins without damaging the wood
Loosen each string gradually. Once the string is slack, use the notch of a string winder or suitable pliers to remove the bridge pin.
- If the pin resists, put your hand through the soundhole and push from underneath to release it without forcing it.
- Handle each pin carefully: plastic or wood can become weakened after staying in place for a long time.
- After freeing the bridge end, remove the string from the headstock side, avoiding the sharp ends.
Use the removal stage to inspect the bridge, neck, and fretboard. This is the best time to clean and check the instrument’s overall stability.
| Action | Recommended tool | Risk avoided |
|---|---|---|
| Loosen each string | String winder or manual tuning-machine adjustment | Shock to the neck |
| Remove the pin | Pliers or string winder | Marks on the wood |
| Push through the soundhole | Protected hand | Stuck pin |
For a complete visual guide and practical advice on changing strings, follow this useful link.
Maintaining the fretboard and body of the instrument
Regular fretboard maintenance ensures a pleasant feel and extends the life of the instrument. Take advantage of the strings being removed so you can work freely.
Deep-cleaning the fretboard
Start gently. Wipe with a microfiber cloth to remove dust and fingerprints.
For unfinished wood, use No. 000 steel wool, rubbing very lightly between the frets. This removes stubborn residue without damaging the fretboard.
Rosewood or ebony require particular care so the contact under your fingers remains smooth and comfortable.

Applying wood care oil
Apply one drop of lemon oil to a cloth and spread it in a thin layer. The oil hydrates the wood and helps prevent it from cracking over time.
Tip: let it dry for a few minutes, then wipe off the excess. Repeat once or twice a year depending on use.
Good fretboard care prepares your new strings and makes playing easier. For complete advice on acoustic and electric maintenance, see our practical guide on guitar maintenance.
Installing and tuning your new strings
Installing a new set requires attention to gauge, bridge fastening, and winding at the headstock.
Choosing the right gauge for your style
10-46 remains light and flexible for fingerstyle playing and good hand comfort.
12-54 offers a richer sound and greater power if you are looking for a deeper result.
Fastening at the bridge and positioning the pins
Always start with the lowest string, the low E. Insert the ball end into the bridge, then secure it with the pin.
Make sure the groove of the pin faces inward so the string stays properly seated in the slot.
Winding on the tuning machines and adjusting the tension
Wind each string from the top toward the bottom of the post; this improves tension stability and prevents slipping.
Use a tuner and tune by starting with the lowest string, then gradually work your way up to the treble strings.
Tip: gently pulling each string after installation stabilizes the tension and reduces the need for retuning.
For a detailed guide on how to change guitar strings and choose your gauge, see our dedicated page: changing the strings on a steel-string acoustic guitar.
Conclusion
A controlled replacement brings depth back to every chord. By taking care with installation and tuning, your steel-string acoustic guitar strings regain clarity and stability.
Think about recycling your old strings, and use a reliable tuner and pliers to save time. These simple steps extend the life of your instrument.
Finally, make the most of your new strings to explore new pieces and improve your playing. For a practical reminder, see our practical guide.
Leave a Reply