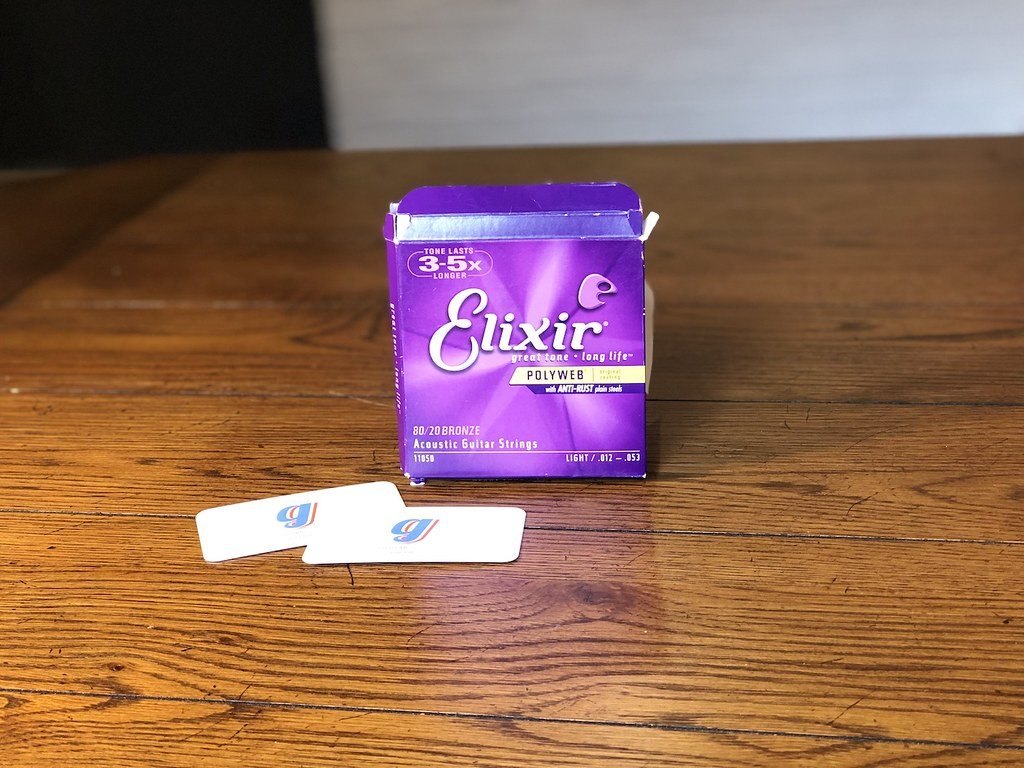
Sophian Alkurdi walks you through this short tutorial. Here, you will learn how to replace each string and bring back a clear, precise sound.
Good technique helps your instrument last longer. The method is similar across most models, even though tuning machines can vary.
We cover the useful tools, simple precautions, and common mistakes to avoid. This guide is for beginners as well as experienced players.
Result: less unwanted noise, better tuning stability, and more playing comfort after each string change.
Why and when to replace your strings
A dull sound often means your strings need immediate attention.
Signs of wear and loss of tone
A tone that becomes flat or overly metallic usually means the string has lost its harmonics. This affects volume and playing accuracy.
Worn strings can also damage the frets on the neck. Replacing them in time helps avoid costly repairs and protects the fretboard.
The ideal replacement frequency
Marine updated her recommendations in August 2022: change your strings every 3 to 6 months depending on how often you play.
A string change is also the right time to check overall tension, the headstock, and the bridge. Keep in mind that electric guitar strings differ, while bronze or phosphor bronze remains the standard for a folk acoustic guitar.
Prepare the gear you need to change folk guitar strings step by step
Gathering the right tools before working on the instrument prevents many problems.
Have wire cutters ready to trim the excess after installation: this is essential to avoid injuries from sharp metal ends.
A reliable tuner will help you quickly return the set to the correct tension. Also prepare a string winder so you can turn the tuning machines faster and with less effort.
For an unfinished fretboard, apply lemon oil sparingly to nourish the wood without drying it out. Grade 000 steel wool is often recommended for cleaning frets and removing grime without scratching.
Finally, keep a soft cloth nearby to wipe the body, along with a suitable cleaning product. Every minute spent caring for the instrument helps extend its life.
"A simple, clean kit will save you time and preserve sound quality.

Remove the old strings safely
Before doing anything else, loosen each string gently to avoid stressing the neck.
Never cut a string while it is still under tension. It can snap back suddenly and damage the headstock or tuning machines. Turn the tuning machines counterclockwise to reduce tension.
How to remove bridge pins without damaging the wood
Loosen each string gradually. Once it is slack, use the notch on a string winder or a suitable pair of pliers to remove the bridge pin.
- If the pin resists, reach through the soundhole and push it upward from underneath to free it without forcing it.
- Handle each pin carefully: plastic or wood can become fragile after a long time in place.
- Once the bridge end is free, remove the string from the headstock while avoiding the sharp ends.
Use this moment to inspect the bridge, neck, and fretboard. It is the best time to clean the guitar and check its overall stability.
Action Recommended tool Risk avoided Loosen each string String winder or hands Neck shock Remove the bridge pin Pliers or string winder Marks on the wood
Clean the fretboard and body of the instrument
Regular fretboard care keeps the feel comfortable and helps the instrument last longer. Take advantage of the strings being removed so you can work freely.
Deep-cleaning the fretboard
Start gently. Wipe with a microfiber cloth to remove dust and fingerprints.
For unfinished wood, use grade 000 steel wool and rub very lightly between the frets. This removes stubborn residue without damaging the fretboard.
Rosewood and ebony need careful attention so the surface under your fingers stays smooth and comfortable.
Applying care oil to the wood
Put a drop of lemon oil on a cloth and spread it in a thin layer. The oil hydrates the wood and helps prevent cracking over time.
Tip: let it sit for a few minutes, then wipe off the excess. Repeat once or twice a year depending on use.
Good fretboard care prepares the guitar for its new strings and makes playing easier.
Install and tune your new strings
Installing a fresh set takes attention to gauge, bridge anchoring, and winding at the headstock.
Choose the right gauge for your playing style
10-46 stays light and flexible for fingerstyle playing and hand comfort.
12-54 gives a richer sound and more power if you want a deeper response.
Securing the strings at the bridge and setting the bridge pins
Always start with the lowest string, the low E. Insert the ball end into the bridge, then lock it with the bridge pin.
Make sure the groove in the bridge pin faces inward so the string sits correctly in the slot.
Winding on the tuning machines and setting tension
Wind each string from the top toward the bottom of the post; this improves tuning stability and helps prevent slipping.
Use a tuner and start with the lowest string, then move gradually toward the highest string.
Tip: gently stretching each string after installation stabilizes the tension and reduces the need for repeated retuning.
Conclusion
A well-done string change brings life back to every chord. With careful installation and tuning, your folk guitar strings regain clarity and stability.
Think about recycling your old strings, and use a reliable tuner and cutters to save time. These simple habits help your instrument last longer.
Finally, enjoy your new strings and use them to explore new songs and improve your playing.
Leave a Reply